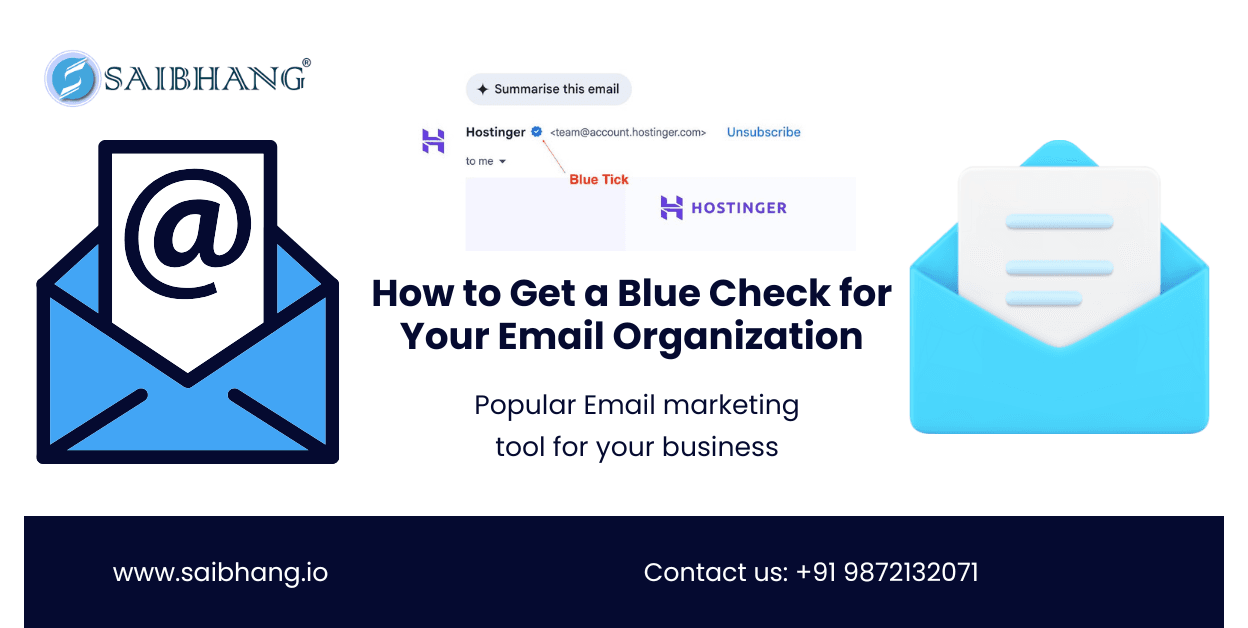
How to Get a Blue Check for Your Email Organization
Boost Your Brand’s Credibility: A Step-by-Step Guide to Achieving the Coveted Blue Checkmark for Your Email Domain
In today’s fast-paced digital world, standing out in a crowded inbox is more important than ever. A blue checkmark next to your organization’s email doesn’t just make your messages stand out—it builds credibility and trust with your recipients. In this guide, I’ll walk you through the steps to secure this sought-after blue checkmark for your email domain. From trademarks to DNS records, I’ve got you covered.
Thank you for reading this post, don't forget to subscribe!What Is the Blue Checkmark, and Why Does It Matter?
The blue checkmark is more than just a symbol; it’s a statement of authenticity and trust. When your email displays this mark, recipients know it’s verified and coming from a legitimate source. This feature is invaluable for organizations that rely on emails for marketing campaigns, notifications, or internal communication.
Step 1: Secure a Trademark for Your Logo
The foundation of the blue checkmark process begins with obtaining a trademark for your organization’s logo. This step ensures that your brand’s identity is protected and verified.
- Why It’s Important: A trademarked logo is required for the blue checkmark.
- How to Do It Hire professionals familiar with U.S. / Canada or Indian trademark law firms IndianFiling. Make sure your business is incorporated before applying for a trademark, and complete steps like filing for an LLC, opening a business bank account, and obtaining an EIN if needed.
This step may take time, but it’s essential for the process.
Step 2: Convert Your Logo to SVG Format
Next, prepare your logo for BIMI (Brand Indicators for Message Identification) by converting it to an SVG format. This is a technical requirement for email verification.
- Where to Go: Saibhang.io company have a best team to handle BIMI SVG conversions. Start with a high-quality AI version of your logo for the best results.
Step 3: Get a Verified Mark Certificate (VMC)
To enable the blue checkmark, you’ll need to secure a Verified Mark Certificate (VMC). Trusted providers like Digicert and Entrust can issue these certificates. Entrust typically offers a more cost-effective solution at $1,300 – $1600 per year.
Here’s how it works:
- Organization Verification: Submit documents proving your business is legitimate and operational.
- Domain Verification: Each BIMI record supports one domain, so if you manage multiple domains, they must be verified individually.
- Trademark Verification: Once your trademark is approved, upload it for final verification.
Step 4: Add the BIMI Record to Your DNS
The final step involves adding a BIMI record to your DNS settings. This step connects all the dots and brings your blue checkmark to life.
How to Do It: Access your DNS records through platforms like Cloudflare, GoDaddy, or Google Domains. Add a TXT record with the name “default._bimi” and the content provided by your VMC provider.
DMARC Compatibility: Your DMARC policy must be set to “quarantine” or “reject” for BIMI to work. Tools like easydmarc.com can help ensure your DMARC settings are configured correctly.
Once everything is set up, use mxtoolbox.com to verify your BIMI record and address any issues.
The Benefits of the Blue Checkmark
Achieving the blue checkmark delivers significant advantages:
- Enhanced Credibility: Establishes your organization as trustworthy.
- Improved Deliverability: Verified emails are less likely to be flagged as spam.
- Stronger Branding: Ensures your brand stands out in inboxes.
While the process involves a financial and time investment, the benefits far outweigh the effort. Your emails will not only stand out but also build trust with every recipient.
Ready to Get Started?
If you’re prepared to elevate your organization’s email communication and need help navigating the process, don’t hesitate to reach out. we are here to guide you every step of the way.
Recent Blog
-
 Digital MarketingAEO vs. SEO: Understanding the Difference and How Saibhang.com Can Help
 -
Software Design and DevelopmentChoosing the Right Software Development Company: What You Need to Know
-
App DevelopmentHow We Kept the Google Play Android App Ecosystem Safe in 2024
-
App DevelopmentHow to Get a Blue Check for Your Email Organization
-
App DevelopmentSupercharge Your Online Store's Sales with Proven Strategies
-
Digital MarketingHow to Review Google Ads Performance
-
Software Design and DevelopmentSimplifying Software Development with Docker : Unraveling Its Benefits


![Supercharge Your Online Store's Sales with Proven Strategies (1)[1]](https://saibhang.com/wp-content/uploads/2024/07/Supercharge-Your-Online-Stores-Sales-with-Proven-Strategies-11-768x386.webp)
![How to Review Google Ads Performance[1]](https://saibhang.com/wp-content/uploads/2024/06/How-to-Review-Google-Ads-Performance1-768x386.webp)
![Simplifying Software Development with Docker _ Unraveling Its Benefits (1)[1]](https://saibhang.com/wp-content/uploads/2024/05/Simplifying-Software-Development-with-Docker-_-Unraveling-Its-Benefits-11-768x386.webp)